What Happens on Painting Day: A Step-by-Step Walkthrough
Knowing what happens on painting day makes it easier to prepare your home, plan around disruption and understand the work you are paying for. A professional house painting project involves more than opening a tin and applying colour. Protecting the property, preparing surfaces, allowing drying time and checking the finish all contribute to a lasting result.
For Melbourne homeowners, the schedule also depends on weather, building condition and access. Interior painting can often proceed during unsettled weather, while exterior painting needs suitable conditions throughout application and drying. This walkthrough explains the process from the crew’s arrival to the final handover, including what may take more than one day.
Before Painting Day: Get the Property Ready
Your painting contractor should explain what you need to move and what the team handles. Do not assume furniture moving, curtain removal or repairs are included unless they appear in the agreed scope.
Before the painters arrive, complete these practical tasks:
- Remove pictures, ornaments, fragile items and valuables from work areas.
- Clear access through hallways, doorways and around the surfaces being painted.
- Confirm arrangements for large furniture, blinds, curtains and wall-mounted fittings.
- Keep children and pets away from work zones and organise a separate area for them.
- Provide agreed access to water, electricity, parking and any shared building areas.
- Confirm colours, sheen levels and which surfaces are included in the quote.
For an apartment or townhouse, check owners corporation requirements before work begins. Shared access, lift bookings, parking restrictions and permitted working hours can affect the start time. Exterior colour changes may also need approval where owners corporation rules or heritage controls apply.
Step 1: Arrival and a Walkthrough of the Job
The day usually starts with a brief discussion and inspection. The painters confirm the work areas, check existing damage and explain which rooms or elevations they intend to tackle first.
This is the time to point out loose handles, doors that already stick, delicate flooring or any wall hooks you want retained. If you want holes filled rather than painted around, make that clear before preparation starts.
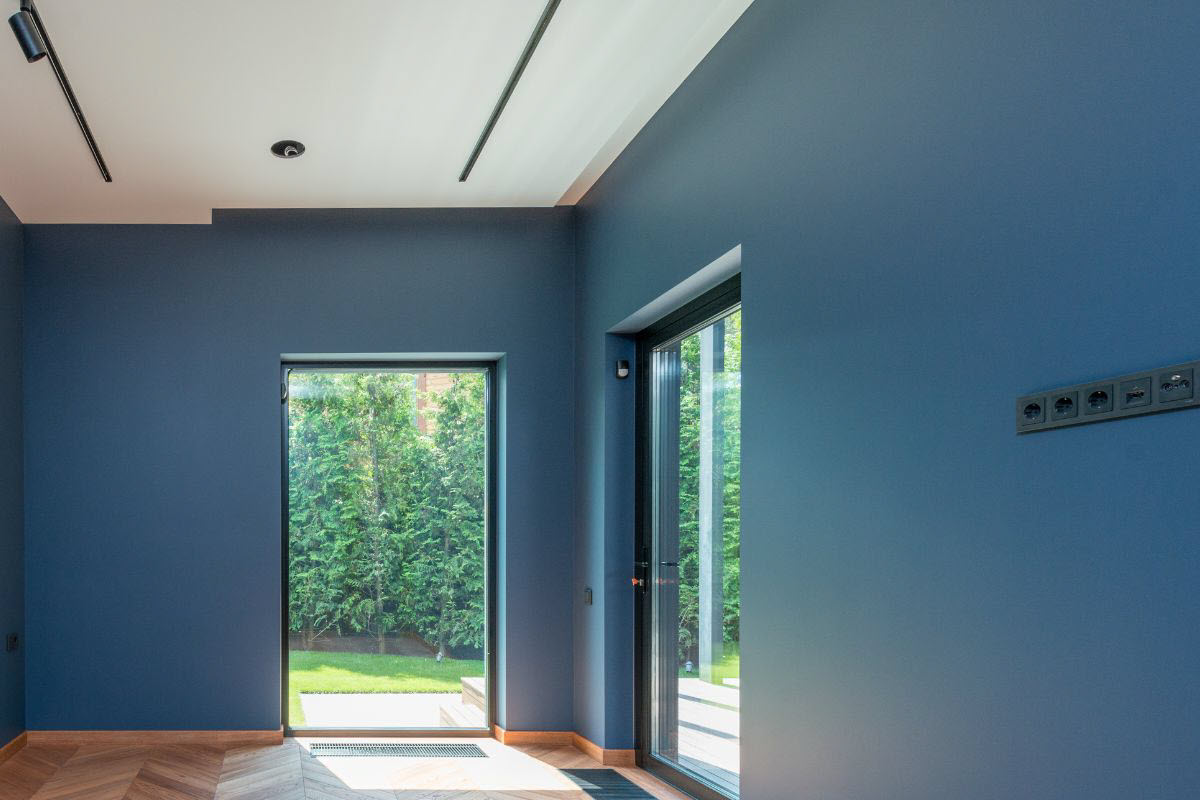
Confirm the finish, not just the colour
Check the paint colour name or code, brand or approved equivalent, and sheen for each surface. Walls, ceilings, doors and trims often use different products. Where colour selection is still uncertain, review a dried sample in the room’s natural and artificial light before full application.
Any change to the agreed scope should be confirmed in writing, including additional repairs, extra surfaces or a different coating system. This helps avoid confusion about price and completion time.
Step 2: Assess Weather, Access and Safety
For exterior painting in Melbourne, the team checks the forecast alongside the conditions at the property. Rain, dew, strong wind, direct sun and unsuitable surface temperatures can all affect application and drying. A dry-looking wall is not necessarily ready to coat if it contains moisture.
Paint manufacturers specify suitable temperature, humidity and recoating conditions. These instructions matter more than a general assumption that a warm day is a good painting day. Very hot surfaces can cause paint to dry too quickly, while cool, damp conditions may delay drying.

Older homes may need extra precautions
Older Melbourne properties can contain lead-based coatings or asbestos-containing materials, including some cement sheeting. Suspect materials need assessment before sanding, scraping or other disturbance. Not every old coating or sheet contains hazardous material, but appearance alone cannot reliably rule it out.
If hazardous material is suspected or identified, preparation may pause until appropriate testing, controls or specialist work are arranged. Ordinary sanding and cleanup methods are not suitable for every surface.
The crew also establishes safe access for ladders, platforms or scaffolding. Homeowners should keep clear of this equipment and avoid entering restricted work areas.
Step 3: Protect Floors, Furniture and Surrounding Areas
Before preparation begins, painters cover floors and furniture with suitable protective materials. Depending on the work, they may mask window edges, protect cabinetry and cover fittings that cannot reasonably be removed.
Furniture may be grouped away from walls if space allows, but small or crowded rooms can require items to be relocated. Keeping a clear working perimeter helps painters reach surfaces safely without leaning over belongings.
For exterior work, protection may extend to paving, decking, windows, garden beds and nearby vehicles. Spray application requires particular attention to masking, wind and overspray control. Not every site or surface suits spraying.
If electrical fittings need removal or disconnection beyond what can safely and lawfully be done without electrical work, a licensed electrician may be required. Discuss this beforehand rather than leaving it to the morning of the job.
Step 4: Clean and Prepare the Surfaces
Preparation often occupies a substantial part of the project. It can be less noticeable than applying colour, but it directly affects adhesion, appearance and durability.
Cleaning and removing loose material
Interior walls may need cleaning to remove dust, grease or other contamination. Kitchen surfaces often require particular attention. Exterior surfaces may need washing and treatment for mould or other growth, followed by sufficient drying time.
Loose, flaking or poorly bonded paint needs removal using methods appropriate to the surface and any identified hazards. Painting over unstable material does not make it sound.
Filling, sanding and sealing gaps
Painters fill agreed holes and minor defects, allow fillers to dry, then sand as required. Suitable paintable sealants may be used for appropriate gaps around trims and joints. Dust is removed before coatings are applied.
Some problems fall outside routine painting preparation. Persistent dampness, rotten timber, significant cracking or recurring mould may need repairs or investigation first. Paint does not fix the underlying cause of water damage or building movement.
Preparation requirements also depend on the finish you expect. A standard repaint does not automatically include making every wall perfectly flat or removing all existing texture. Extensive surface correction should be specified in the quote.
Step 5: Apply Primer or Undercoat Where Needed
Not every repaint requires a full primer coat, but some surfaces need one. Bare plaster, exposed timber, stains, repaired areas and difficult-to-bond surfaces may require particular products.
The painters select a primer, sealer or undercoat compatible with the substrate and finish coat. Localised repairs may need spot priming, while a substantial colour change or a particular coating system may call for broader preparation.
Stains from water, smoke or tannins can bleed through ordinary paint unless an appropriate stain-blocking product is used. Any source of water staining should be resolved and the surface sufficiently dry before decorating proceeds.
Step 6: Apply the Finish Coats
Once the surface is ready, the visible transformation begins. Painters commonly work from higher surfaces downwards, although the precise sequence varies with the room, product and access requirements. Ceilings, walls and trims may be completed in separate stages.
Cutting in, rolling and brushing
Edges around corners, ceilings and trim are usually painted with a brush, a process known as cutting in. Larger wall and ceiling areas are commonly rolled. Doors, trims and suitable exterior surfaces may be brushed, rolled or sprayed according to the specified finish and site conditions.
The objective is consistent coverage and an even finish, not simply speed. Application technique, film thickness and maintaining suitable working edges all influence the result.
Why drying time changes the schedule
A surface can feel dry without being ready for another coat. The minimum recoat time depends on the product and conditions, including temperature, humidity and ventilation.
Most repaint specifications include multiple coats, but the required system varies. Strong colour changes, porous surfaces or certain colours may need additional work to achieve adequate coverage. Your painting service should explain what is included rather than relying on a universal coat count.
Step 7: Manage Access While Work Continues
You may be able to remain home during interior painting, but discuss this before work starts. Wet coatings, tools, covered floors and open doors can make normal routines difficult, especially when kitchens, bathrooms or bedrooms are involved.
Agree on which rooms remain usable and when you can enter newly painted areas. Keep pets away from wet paint and equipment, and do not remove protective coverings or masking yourself unless the crew asks you to.
Ventilation should follow product guidance and suit the conditions. Low-VOC paints are commonly available in 2026, but low VOC does not mean no odour or no exposure precautions. Anyone with asthma, sensitivities or other health concerns should discuss product information and occupancy arrangements before application.
Step 8: Inspect the Work and Complete Touch-Ups
As coatings dry sufficiently for assessment, the painters check coverage, edges and visible defects. They may address missed spots, uneven areas or small application marks before packing up.
Where practical, inspect the work together under normal lighting. Fresh paint can appear different while drying, and touch-ups may need time before their final appearance can be judged.
If you identify an issue, point to the location and describe what you see. Confirm how it will be addressed and whether another visit is necessary. Avoid applying your own touch-ups immediately, as this can complicate assessment and produce differences in texture or sheen.
Step 9: Clean Up and Receive Care Instructions
At the end of the working day or project, the team removes equipment and protective materials as appropriate, collects debris and leaves access areas safe. On a multi-day job, some protection and equipment may remain in place by agreement.
During https://melbpaint23452837.talesignal.com/posts/painting-laundries-and-mudrooms-with-moisture-resistant-paint handover, ask for the following information:
- The paint brand, product, colour and sheen used on each surface.
- When furniture can return and doors or windows can be used normally.
- How long to wait before cleaning walls or applying adhesive hooks.
- Whether labelled leftover paint is available for future maintenance.
- How to report any concerns and what workmanship warranty terms apply.
Paint dries before it fully cures. During the curing period, coatings can be more vulnerable to scuffing, sticking and cleaning damage. Follow the product’s care instructions rather than assuming the finish is fully hardened the next morning.
Does House Painting Finish in One Day?
A small, straightforward job may fit into a day, but many projects do not. Surface repairs, drying intervals, multiple colours, detailed trim and difficult access all add time. Exterior painting is especially sensitive to Melbourne’s changing weather.
A reliable painting contractor explains the likely sequence and flags delays rather than rushing preparation or recoating too early. When comparing quotes, look at the specified preparation, coating system, protection and cleanup—not just the number of days promised.
Understanding these steps helps you prepare realistically and ask useful questions. With a clear scope, safe work areas and sensible drying allowances, painting day becomes a manageable process rather than a disruption full of surprises.
Melbourne House Painting Pros
2/147 Swan St, Richmond VIC 3121
(03) 4051 5313